क्या आप एक ऐसी आसान, खुशबूदार और स्वादिष्ट डिश की तलाश में हैं जो किसी भी करी के साथ परफेक्ट लगे? तो Jeera Rice से बेहतर कुछ नहीं! यह क्लासिक इंडियन राइस डिश सादगी और स्वाद का बेहतरीन मेल है, और यही वजह है कि यह भारत के लगभग हर घर में बनाई जाती है।
खुशबूदार जीरे, फ्लफी बासमती चावल और हल्के मसालों से तैयार यह जीरा राइस न केवल बनाने में आसान है, बल्कि यह आपकी पसंदीदा करी, दाल के साथ भी बेहतरीन लगती है। चाहे आप व्यस्त हों और जल्दी में खाना बनाना चाहते हों, या फिर इंडियन कुजीन को एक्सप्लोर कर रहे हों, यह जीरा राइस रेसिपी आपके लिए बिल्कुल परफेक्ट है। तो चलिए, इस स्वादिष्ट डिश को घर पर बनाने की स्टेप-बाय-स्टेप गाइड जानते हैं!

जीरा राइस रेसिपी की खास बातें
- जल्दी और आसान: 30 मिनट से भी कम समय में तैयार!
- वर्सेटाइल: किसी भी करी, दाल या साइड डिश के साथ परफेक्ट लगती है।
- स्वादिष्ट: खुशबूदार जीरा और मसाले सादे चावल को एक नया स्वाद देते हैं।
- शुरुआती लोगों के लिए बिल्कुल सही: कोई फैंसी सामग्री या मुश्किल स्टेप्स नहीं।
जीरा राइस बनाने के लिए सामग्री
यहां बताई गई सामग्री से आप यह स्वादिष्ट जीरा राइस रेसिपी बना सकते हैं:
- 1 कप बासमती चावल
- 2 कप पानी
- 1 बड़ा चम्मच घी या मक्खन (ज्यादा स्वाद के लिए) या तेल
- 1 छोटा चम्मच जीरा
- 1 तेजपत्ता
- 2-3 लौंग
- 1 इंच दालचीनी का टुकड़ा
- 2-3 हरी इलायची
- 1 छोटा प्याज, बारीक कटा हुआ (वैकल्पिक)
- स्वादानुसार नमक
- गार्निश के लिए ताजा धनिया पत्ती (वैकल्पिक)
जीरा राइस बनाने की विधि
स्टेप 1: चावल को धोएं और भिगोएं
- 1 कप बासमती चावल को ठंडे पानी में तब तक धोएं जब तक पानी साफ न हो जाए।
- चावल को 20-30 मिनट के लिए पानी में भिगोकर रखें। इससे चावल फ्लफी और अलग-अलग बनते हैं।
स्टेप 2: मसालों को तड़काएं
- एक पैन या बर्तन में 1 बड़ा चम्मच घी या तेल गर्म करें।
- 1 छोटा चम्मच जीरा डालें और उसे चटकने दें।
- साबुत मसाले डालें – तेजपत्ता, लौंग, दालचीनी और इलायची। 30 सेकंड तक भूनें जब तक खुशबू आने लगे।
- (वैकल्पिक) बारीक कटा हुआ प्याज डालें और हल्का सुनहरा होने तक भूनें।
स्टेप 3: चावल पकाएं
- भीगे हुए चावल को छानकर पैन में डालें। मसालों के साथ चावल को हल्के से मिलाएं।
- 2 कप पानी डालें और स्वादानुसार नमक मिलाएं।
- मिश्रण को उबाल आने दें, फिर आंच को कम करके ढक्कन लगा दें और 15-20 मिनट तक पकने दें जब तक चावल पक जाएं और पानी सूख जाए।
स्टेप 4: चावल को फ्लफ करें और सर्व करें
- चावल पक जाने के बाद, आंच बंद कर दें और 5 मिनट के लिए ढककर रख दें।
- कांटे से चावल को हल्के से फ्लफ करें ताकि दाने अलग हो जाएं।
- ताजा धनिया पत्ती से गार्निश करें (वैकल्पिक) और गर्मागर्म परोसें।
बेस्ट जीरा राइस बनाने के टिप्स
- बासमती चावल का इस्तेमाल करें: इसके लंबे दाने और खुशबू जीरा राइस को परफेक्ट बनाते हैं।
- चावल भिगोना न भूलें: भिगोने से चावल एक समान पकते हैं और फ्लफी बनते हैं।
- मसालों को एडजस्ट करें: अपने स्वाद के अनुसार साबुत मसालों को कम या ज्यादा कर सकते हैं।
- सब्जियां डालें: हेल्दी ट्विस्ट के लिए मटर, गाजर या शिमला मिर्च मिला सकते हैं।
जीरा राइस इंडियन कुजीन में इतना पॉपुलर क्यों है?
जीरा राइस सिर्फ एक साइड डिश नहीं है; यह एक कम्फर्ट फूड है जो हर भोजन में गर्माहट और स्वाद लाता है। इसकी सादगी इसे व्यस्त दिनों के लिए परफेक्ट बनाती है, जबकि इसके खुशबूदार मसाले इसे त्योहारों और खास मौकों के लिए स्पेशल बनाते हैं। साथ ही, यह शुरुआती लोगों के लिए इंडियन कुजीन को समझने का एक बेहतरीन तरीका है।
अंतिम विचार
यह जीरा राइस रेसिपी उन सभी के लिए एक बेहतरीन विकल्प है जो अपने भोजन में इंडियन फ्लेवर जोड़ना चाहते हैं। अपने खुशबूदार जीरे, फ्लफी चावल और मिनिमल मेहनत के साथ, यह डिश आपके परिवार और मेहमानों को जरूर पसंद आएगी। चाहे आप इसे किसी करी के साथ खाएं या ऐसे ही एन्जॉय करें, जीरा राइस एक टाइमलेस क्लासिक है जो हमेशा स्वादिष्ट लगती है।
तो फिर किस बात का इंतज़ार? सामग्री इकट्ठा करें और आज ही यह सरल और स्वादिष्ट जीरा राइस रेसिपी ट्राई करें! अपने कुकिंग एक्सपीरियंस को कमेंट में जरूर शेयर करें। हैप्पी कुकिंग!
Simple and Flavorful Jeera Rice Recipe to Pair with Any Curry
")
Craving a quick, aromatic, and delicious side dish that complements any curry? Look no further than Jeera Rice! This classic Indian rice dish is a perfect blend of simplicity and flavor, making it a staple in households across the country. With its fragrant cumin seeds, fluffy basmati rice, and subtle spices, Jeera Rice is not only easy to prepare but also versatile enough to pair with your favorite curries, dals, or even grilled meats. Whether you’re a busy parent looking for a quick meal or a food enthusiast exploring Indian cuisine, this Jeera Rice recipe is a must-try. Let’s dive into the step-by-step guide to making this flavorful dish at home!
Why You’ll Love This Jeera Rice Recipe
- Quick and Easy: Ready in under 30 minutes!
- Versatile: Pairs perfectly with any curry, dal, or side dish.
- Flavorful: Aromatic cumin and spices elevate simple rice to a whole new level.
- Perfect for Beginners: No fancy ingredients or complicated steps.
Ingredients for Jeera Rice
Here’s what you’ll need to make this delicious Jeera Rice recipe:
- 1 cup basmati rice
- 2 cups water
- 1 tablespoon ghee or butter (for a richer flavor) or oil
- 1 teaspoon cumin seeds (jeera)
- 1 bay leaf
- 2-3 cloves
- 1-inch cinnamon stick
- 2-3 green cardamom pods
- 1 small onion, finely chopped (optional)
- Salt to taste
- Fresh coriander leaves for garnish (optional)
Step-by-Step Instructions to Make Jeera Rice
Step 1: Rinse and Soak the Rice
- Rinse 1 cup of basmati rice under cold water until the water runs clear.
- Soak the rice in water for 20-30 minutes. This helps in achieving fluffy and separate grains.
Step 2: Temper the Spices
- Heat 1 tablespoon of ghee or oil in a pan or pot.
- Add 1 teaspoon of cumin seeds and let them sizzle for a few seconds.
- Toss in the whole spices – bay leaf, cloves, cinnamon stick, and cardamom pods. Sauté for 30 seconds until aromatic.
- (Optional) Add finely chopped onions and sauté until golden brown for extra flavor.
Step 3: Cook the Rice
- Drain the soaked rice and add it to the pan. Gently stir to coat the rice with the tempered spices.
- Pour in 2 cups of water and add salt to taste.
- Bring the mixture to a boil, then reduce the heat to low, cover the pan, and let it simmer for 15-20 minutes until the rice is cooked and water is absorbed.
Step 4: Fluff and Serve
- Once the rice is cooked, turn off the heat and let it sit for 5 minutes.
- Gently fluff the rice with a fork to separate the grains.
- Garnish with fresh coriander leaves (optional) and serve hot.
Tips for Perfect Jeera Rice
- Use Basmati Rice: Its long grains and fragrant aroma make it ideal for Jeera Rice.
- Don’t Skip Soaking: Soaking the rice ensures it cooks evenly and stays fluffy.
- Adjust Spices: Customize the whole spices to suit your taste preferences.
- Add Veggies: For a healthier twist, toss in peas, carrots, or bell peppers.
What to Serve with Jeera Rice?
Jeera Rice is incredibly versatile and pairs well with a variety of dishes. Here are some ideas:
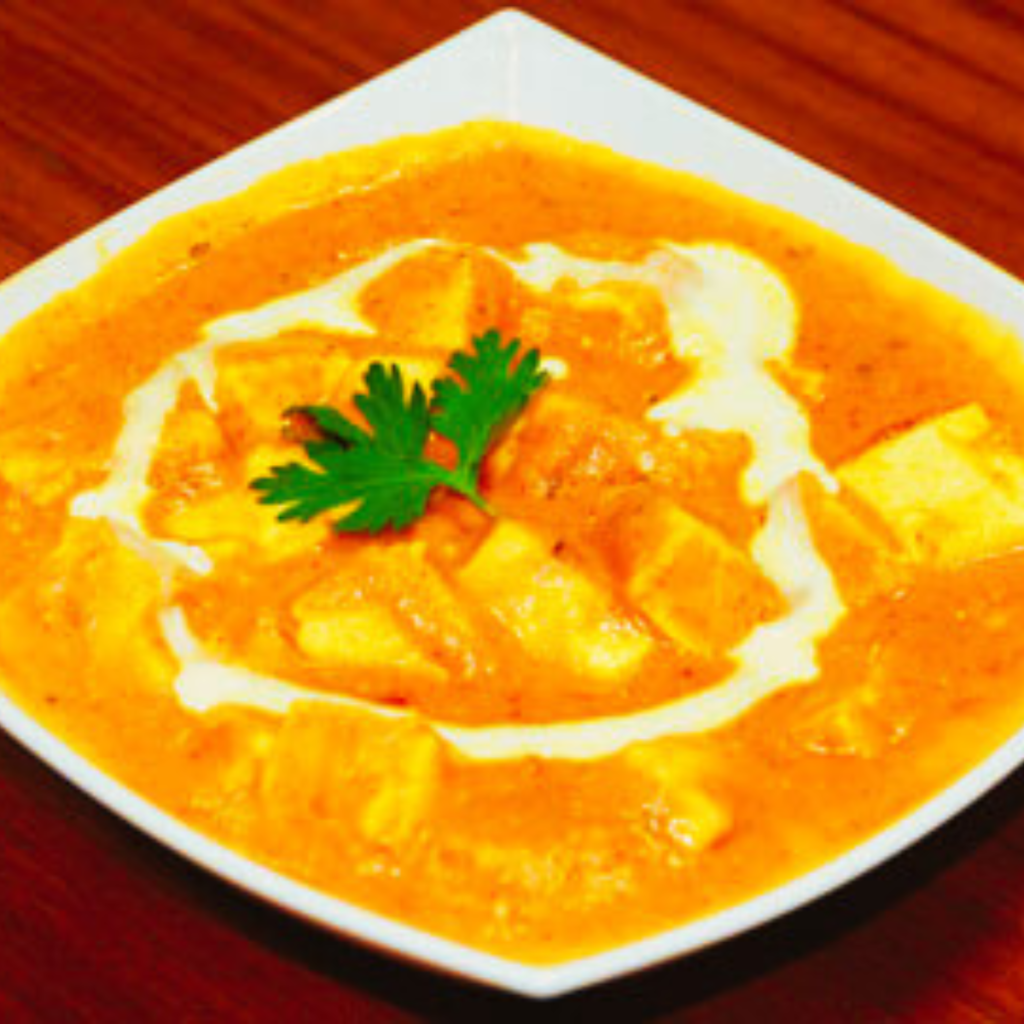
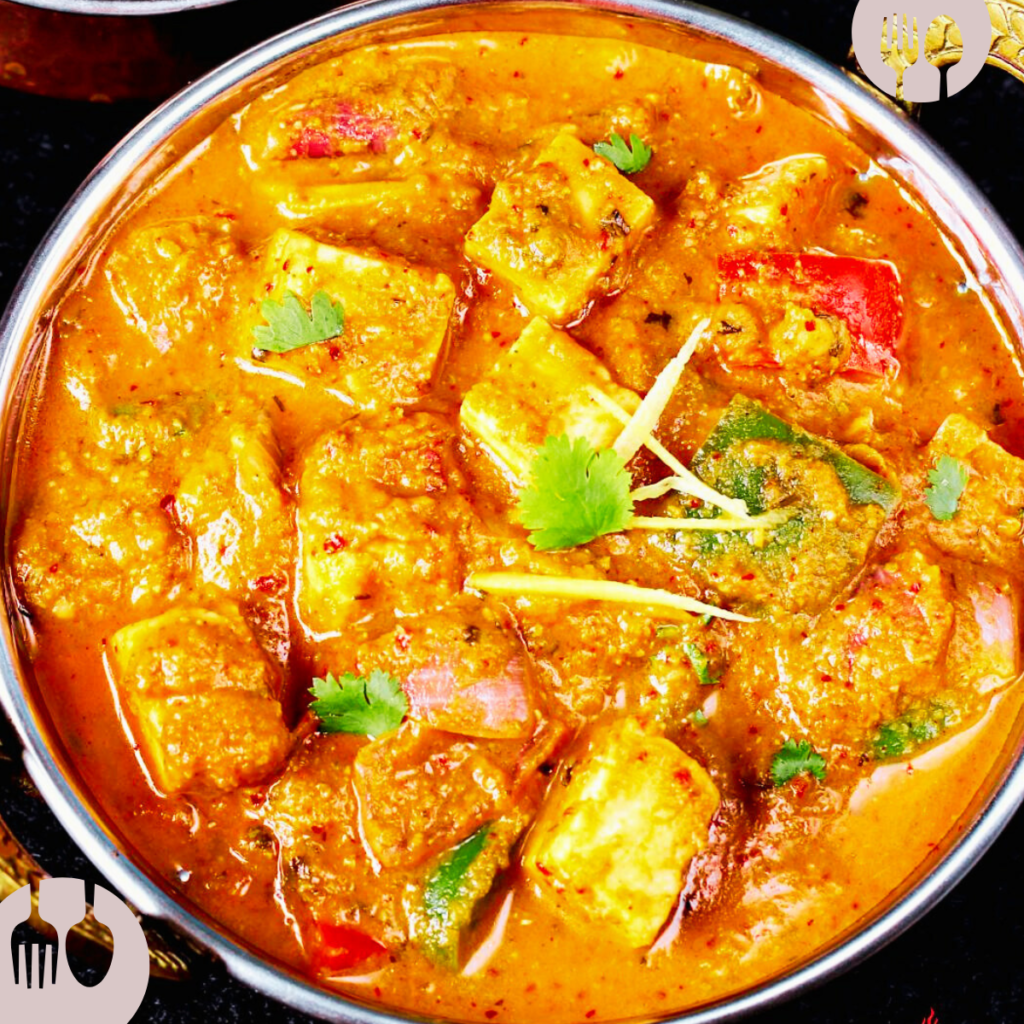
Curries: Shahi Paneer, Paneer Butter Masala, or Chana Masala.
Dals: Dal Tadka, Dal Makhani, or Sambar.
Raita: A cooling cucumber or boondi raita balances the flavors.
Why Jeera Rice is a Staple in Indian Cuisine?
Jeera Rice is more than just a side dish; it’s a comfort food that brings warmth and flavor to any meal. Its simplicity makes it a go-to recipe for busy weeknights, while its aromatic spices make it special enough for festive occasions. Plus, it’s a great way to introduce beginners to the world of Indian cooking.
Final Thoughts
This Jeera Rice recipe is a game-changer for anyone looking to add a touch of Indian flavor to their meals. With its fragrant cumin, fluffy rice, and minimal effort, it’s a dish that’s sure to impress your family and guests. Whether you’re pairing it with a rich curry or enjoying it on its own, Jeera Rice is a timeless classic that never fails to delight.
So, what are you waiting for? Grab your ingredients and try this simple and flavorful Jeera Rice recipe today! Don’t forget to share your cooking experience in the comments below. Happy cooking!